How to Clean an Air Fryer Heating Element
Clean an air fryer heating element safely with the right cooling, positioning, tools, and drying steps—without damaging the appliance.
To clean an air fryer heating element, unplug the appliance, let it cool completely, remove the basket and trays, and access the element only as the manufacturer permits. Use a soft brush or barely damp nonabrasive cloth to loosen grease and crumbs, keep liquid away from electrical parts, and allow the interior to dry fully before cooking again.
The element sits close to the fan in many basket-style air fryers. Grease splatter can bake onto the surrounding ceiling or protective screen, creating smoke and stale odors. Cleaning this area periodically improves cleanliness, but aggressive scrubbing, oven cleaner, metal tools, and direct water can damage coatings or components.
Always use the manual for the exact model. Some appliances may be carefully tilted for access; others must remain upright. Do not remove screws, guards, or the heating element unless the manufacturer explicitly identifies them as user-removable.
Gather Safe Cleaning Supplies
You need only a few gentle tools: a soft nylon brush or clean toothbrush, microfiber cloths, warm water, and a small amount of mild dish soap if the manual allows it. A wooden toothpick may help with an accessible crumb, but keep it away from the fan and wiring.
Avoid steel wool, abrasive pads, sharp scrapers, bleach, aerosol oven cleaner, and flammable solvents. Do not spray cleaner into the chamber. Apply any permitted solution to a cloth, not directly to the appliance.
- Soft nylon brush or clean toothbrush
- Lint-free microfiber cloth
- Warm water and mild dish soap when approved
- Dry towel for removable parts
- Owner’s manual for access and positioning instructions
Step 1: Unplug and Cool Completely
Disconnect the power plug from the wall and wait until the basket, chamber, element, and exterior are cool. The element can remain hot after food and the basket feel safe to touch. Never clean immediately after a cooking cycle.
Move the appliance to a stable, dry counter with good lighting. Keep the plug where it cannot fall into water. Cleaning near a full sink increases the risk of splashing electrical components.
Step 2: Remove and Clean the Basket
Take out the basket, crisper plate, rack, and other user-removable pieces. Washing these first prevents loose grease from transferring back into the chamber. Follow the manual for dishwasher compatibility; hand washing is gentler on many nonstick coatings.
Soak only approved removable parts, then use a nonabrasive sponge. Rinse and dry them separately. Do not place the air fryer body in water.
Step 3: Access the Heating Area Correctly
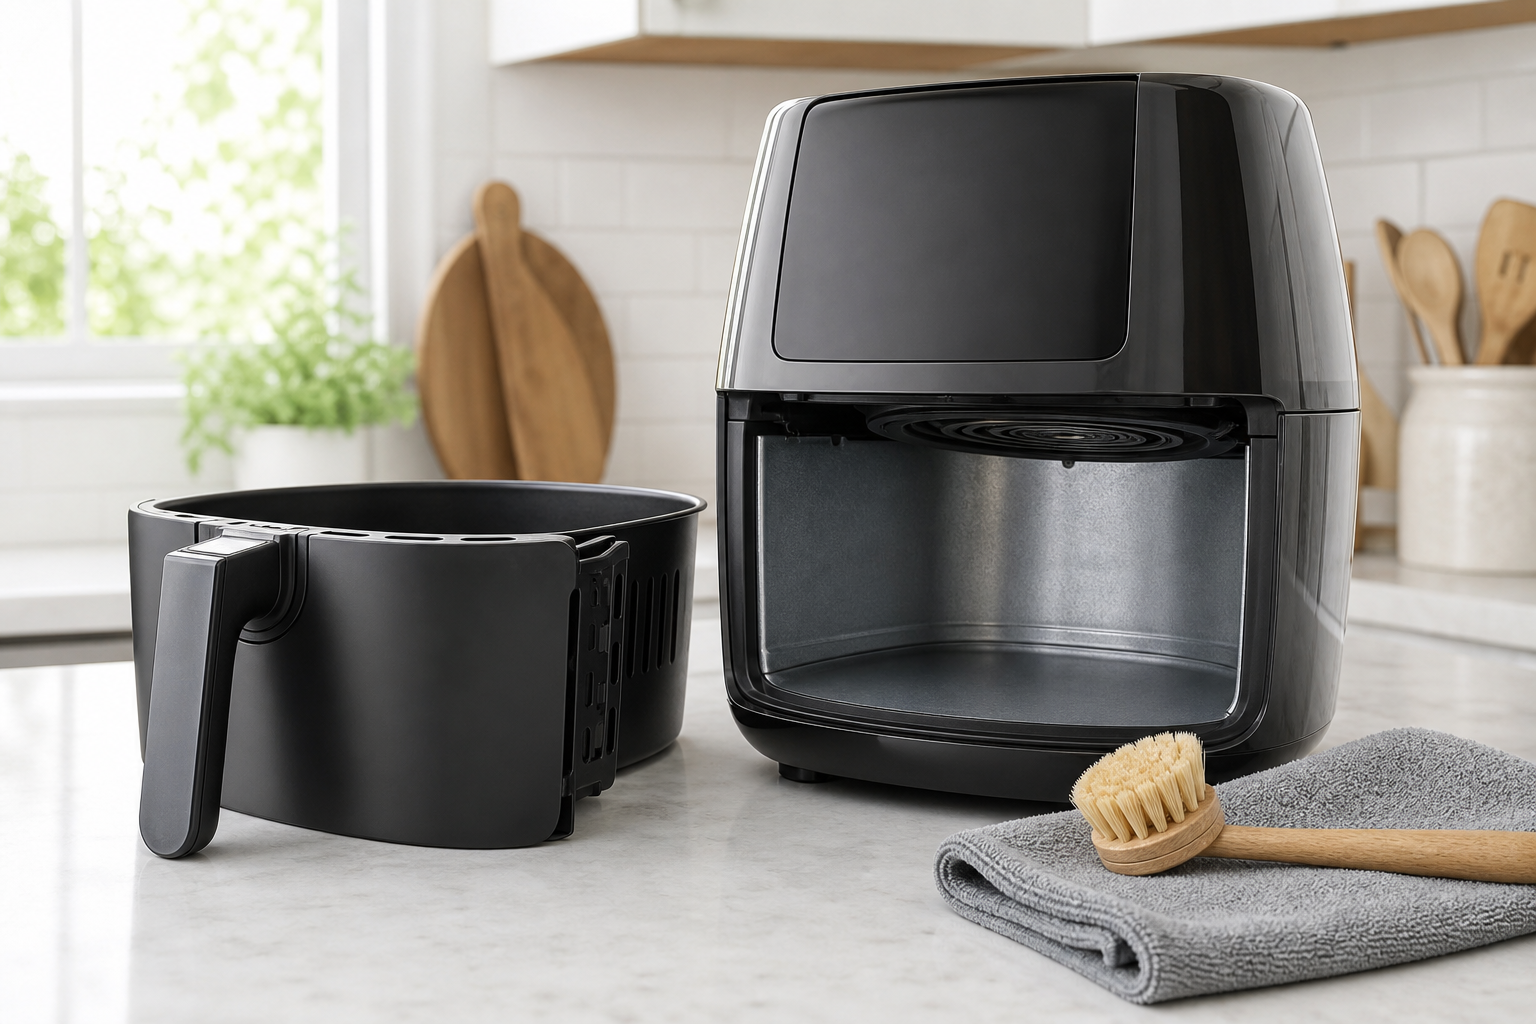
Look into the empty chamber and locate the heating coil, fan cover, or protective screen. If the maker allows the appliance to be tilted or turned upside down, place a folded towel beneath it to prevent scratches and support it securely. Remove the basket first so it cannot slide.
If the manual requires the fryer to remain upright, work from the basket opening. Do not force a hand into a narrow space or bend the heating coil. A small brush can reach farther with less pressure.
Step 4: Brush Away Dry Debris
Begin with a dry brush. Gently sweep crumbs and loose residue from the element and surrounding surfaces toward the chamber opening. Rotate the appliance only when approved, and avoid pushing debris through fan openings.
Do not tug on the coil or scrape it with metal. If a protective screen blocks access, clean the visible surface rather than removing the screen. Vacuuming is acceptable only if the manufacturer permits it and the nozzle cannot strike delicate parts.
Step 5: Wipe Greasy Residue
Dampen a cloth with warm water and wring it until it is nearly dry. Add a tiny amount of mild dish soap only when approved. Wipe accessible greasy areas with light pressure, taking care not to saturate seams, the fan, connectors, or controls.
For stubborn baked-on grease, hold the barely damp cloth against the spot briefly to soften it rather than increasing force. Repeat gentle passes. Do not use steam cleaners: pressurized moisture can travel into electrical areas.
Step 6: Dry and Reassemble
Wipe the chamber with a clean, barely damp cloth to remove soap traces, then use a dry cloth. Return the appliance to its normal upright position and leave the basket out until every surface is fully dry. Several hours of open-air drying is safer than rushing.
Reinstall only clean, dry parts. Inspect the cord and plug before reconnecting power. On the next use, monitor the fryer. A faint residual odor may disappear, but persistent smoke, sparks, abnormal noise, or a burning electrical smell means the appliance should be unplugged and inspected.
How Often Should the Element Be Cleaned?
Inspect the upper chamber after messy, fatty, or breaded foods and perform a light clean when splatter is visible. For regular use, a monthly check is a practical baseline. Households that cook bacon, wings, or oily marinades may need more frequent attention.
The basket and crisper plate should be cleaned after each use. Keeping those parts clean reduces smoke and slows buildup above them. Never wait until thick grease drips from the ceiling of the chamber.
Prevent Grease From Reaching the Element
Do not overfill the basket, because lightweight food and grease can be pulled upward by fast-moving air. Secure parchment only with food and use liners solely as the manufacturer permits; loose paper can lift into the element and burn.
Trim excessive fat when appropriate, use the recommended temperature, and stop cooking if heavy smoke develops. A clean basket and correct portion size improve airflow without creating unsafe barriers around the element.
Remove Odors Without Masking Them
A persistent food odor usually means grease remains on the basket, chamber ceiling, guard, or fan area. Repeat the gentle cleaning process after the unit cools. Fragranced sprays and air fresheners should not be used inside a cooking appliance because residue can contact heated air and food.
After complete drying, an approved brief empty run may help confirm that the odor is gone, but follow the manual and ventilate the kitchen. Stop immediately if smoke or an electrical smell appears.
When Cleaning Is Not Enough
A darkened element is not automatically damaged, and some discoloration is normal. However, a warped coil, damaged coating, loose guard, exposed wire, repeated electrical odor, sparks, or failure to heat requires professional support or replacement.
Do not test a damaged unit. Record the model and serial number and contact the manufacturer. Opening the housing can create shock and fire risks and may affect warranty coverage.
Frequently Asked Questions
Can I use oven cleaner inside an air fryer?
Usually no. Oven cleaners can damage coatings and leave harsh residue. Use only cleaning products approved in the air fryer manual.
Can I turn my air fryer upside down to clean it?
Only if the manufacturer specifically permits that position. Remove loose parts, unplug the unit, and support it securely.
Why does my clean air fryer still smoke?
Residue may remain near the element or fan, excess fat may be rendering from food, or the cooking temperature may be too high. Unplug and inspect after cooling.
Can water touch the heating element?
Avoid direct water and never pour or spray liquid into the chamber. Use a well-wrung cloth only as the manual permits, then dry completely.
Final Thoughts
Cleaning an air fryer heating element is a gentle, mostly dry process. Unplug, cool, remove the basket, brush loose debris, wipe approved surfaces with minimal moisture, and allow thorough drying.
Routine inspection prevents thick grease from becoming a smoke problem. If safe access requires disassembly or you see electrical damage, stop cleaning and seek manufacturer guidance instead.
 ✓
✓