Why Is My Robot Vacuum Leaving Streaks?
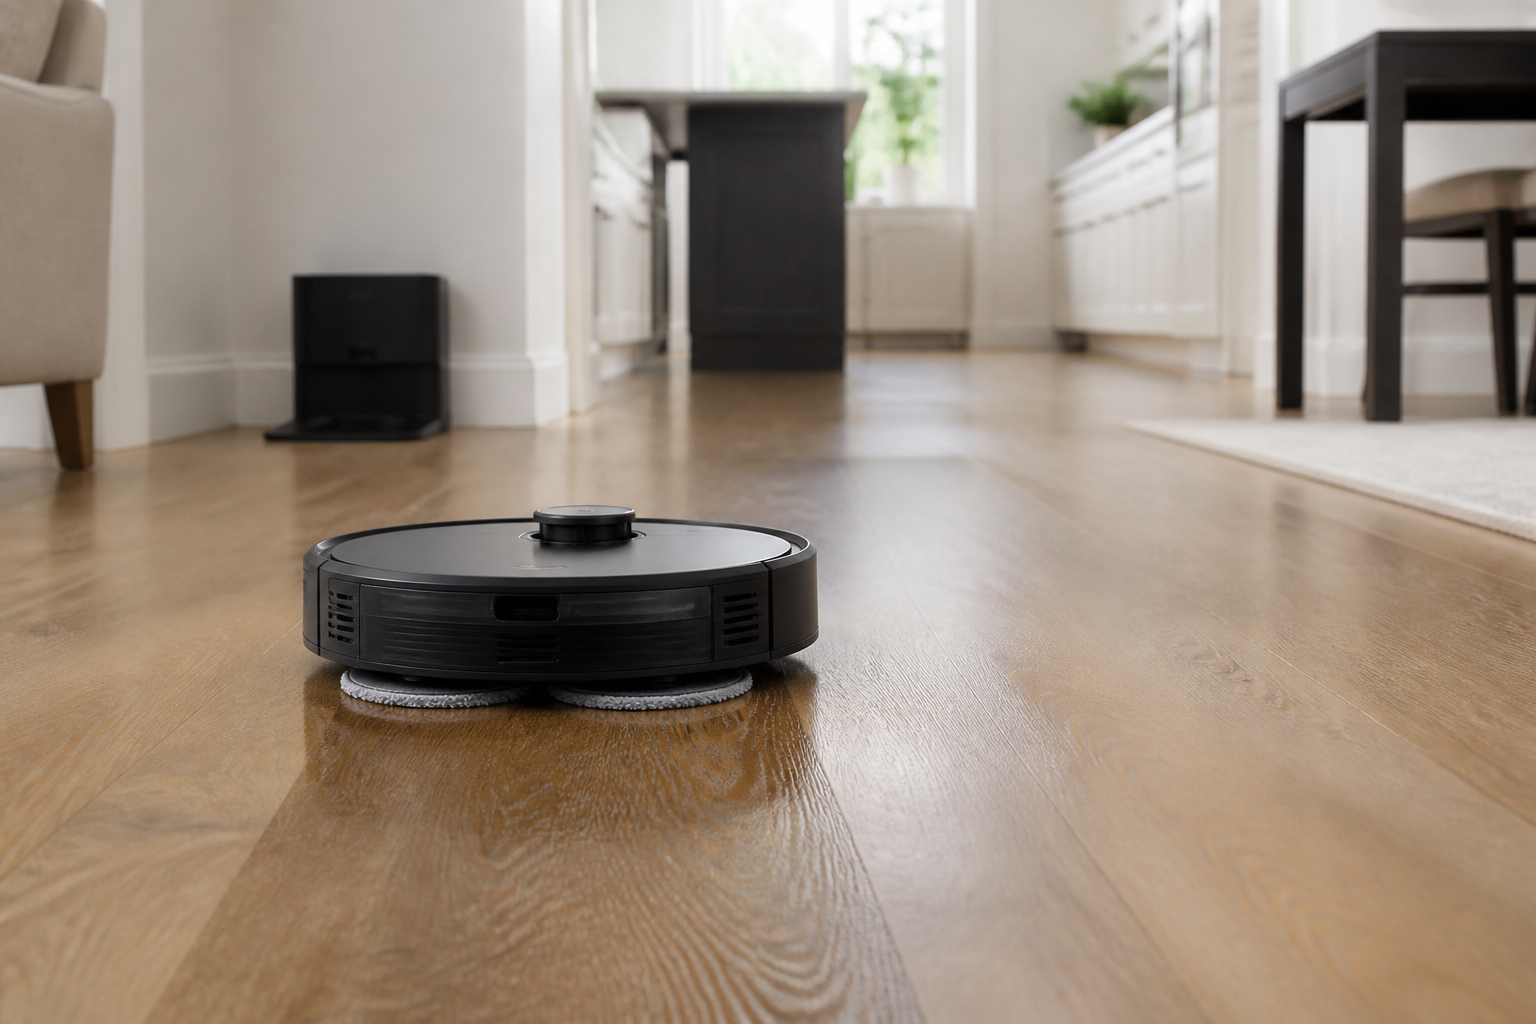
Fix robot vacuum mop streaks by checking pads, water, cleaning solution, floor compatibility, sensors, routes, and maintenance.
A robot vacuum with a mopping feature can leave streaks when its pad is dirty, the floor has too much cleaner or residue, water distribution is uneven, or the machine crosses a floor type it is not meant to mop. Streaks are usually a maintenance or setup issue, not proof that the robot is broken.
First identify whether the marks are wet trails, cloudy film, narrow wheel tracks, or debris streaks. Each points to a different fix. Clean the pad, check the water tank and solution guidance, reduce excess product, and test the robot on a small approved section of floor.
Never use a robot mop on unsealed wood, damaged flooring, or surfaces the manufacturer excludes. If moisture reaches a sensitive floor, stop the run and dry the area according to the floor maker’s care guidance.
Start With a Clean Mop Pad
A pad saturated with soil drags residue instead of lifting it. Remove it after a run, rinse or wash it according to the manual, and let it dry completely. Homes with pets, cooking grease, or high traffic may need a fresh pad every session.
Check the pad attachment carefully. A crooked, folded, or worn pad can leave uneven contact marks. Replace it when fibers flatten, seams loosen, or it no longer absorbs well.
Use Only the Recommended Water and Cleaner
Many robot mops are designed for plain water or a specific low-foaming solution. Too much cleaner can leave cloudy residue and may damage internal tubing or sensors. Do not add vinegar, bleach, essential oils, dish soap, or homemade mixtures unless the manual explicitly approves them.
Fill the tank to the stated line with the allowed water type. If the robot uses a docking station with solution dosing, check its instructions rather than adding product directly to the tank.
Remove Existing Floor Film First
A robot mop may reveal residue left by previous cleaners. If the floor looks cloudy before the robot starts, clean it manually with a floor-safe product, then rinse or dry as directed. After the baseline is clean, test the robot with plain water or the approved solution.
Do not use the robot repeatedly to scrub a sticky buildup. Frequent passes on a dirty pad can make the film more visible. Address spills and grease before scheduling the machine.
Adjust Water Flow and Cleaning Pattern
If the pad is dripping or wide wet trails remain, choose a lower water setting. If the pad is nearly dry and leaves narrow dirty lines, a slightly higher approved setting may help. Make one adjustment and test a small area before changing multiple settings.
Use the app’s room or zone controls to avoid delicate flooring and rugs. A slower, overlapping path may improve results on a suitable hard floor, while a fast pass is enough for light daily maintenance.
Check Wheels, Brushes, and Sensors
Hair, grit, or sticky residue on wheels can create tracks that look like mop streaks. Turn the robot off, remove the pad, and clean wheels and brushes as directed. Wipe cliff and navigation sensors with a dry soft cloth.
A robot that repeatedly spins, misses sections, or changes direction abruptly may be navigating poorly rather than mopping poorly. Clear obstacles, improve lighting if camera navigation requires it, and update maps only after the floor is prepared.
Match the Robot to the Floor Type
Sealed tile, vinyl, laminate, and many sealed hard floors can be compatible, but every floor and finish has its own care rules. Unsealed wood, waxed surfaces, loose tiles, and water-sensitive flooring may be unsuitable for wet mopping.
Read both the robot manual and flooring-care guidance. The robot manufacturer cannot know every installed finish, and the floor maker may limit water exposure even if the surface looks smooth.
Prepare the Floor Before Mopping
Vacuum or sweep loose grit first. A mop pad pushed over crumbs, litter, hair, or sand can leave long marks and may scratch certain finishes. Many robot mops vacuum first automatically, but an overfull bin or tangled brush reduces that benefit.
Pick up cables, rugs, pet bowls, and small items. Keep pets away during a wet cycle, and do not run the robot over fresh spills or pet accidents.
Maintain the Dock and Water System
Empty and rinse dirty-water tanks promptly when the model has them. Clean the dock tray, wash station, filters, and water ports at the specified interval. Odors or slimy residue can transfer back to a clean pad.
Use only approved replacement pads and accessories. An incompatible pad can hold too much water or fail to make proper contact. If water does not dispense at all after normal cleaning, consult support rather than poking tools into ports.
When Streaks Point to a Hardware Issue
Persistent one-sided streaks with a clean pad and correct settings can indicate a worn pad plate, blocked water outlet, damaged wheel, or docking problem. Note the pattern and whether it appears on every floor.
Contact support if the robot leaks, displays a water-system error, makes unusual noises, or leaves excessive water. Stop using it on sensitive floors until the issue is resolved.
Frequently Asked Questions
Can I put vinegar in a robot mop?
Not unless the manufacturer explicitly approves it. Vinegar and other household cleaners can damage tanks, seals, and floors or create residue.
How often should robot mop pads be washed?
After each use is a good baseline, especially for dirty floors. Replace pads when they are worn or no longer absorb properly.
Why does the floor look cloudy after mopping?
Too much solution, old cleaner film, a dirty pad, or water that dries unevenly can cause cloudiness. Reset with a floor-safe manual clean and test with the approved amount of solution.
Can a robot mop scratch hardwood?
Grit trapped under a pad can scratch some floors, and excess water can harm unsealed wood. Vacuum first and follow both appliance and floor-care instructions.
Final Thoughts
Most robot-mop streaks improve with a clean pad, approved water or solution, sensible flow settings, and a floor that has been vacuumed first. Work from the visible streak pattern rather than trying several random fixes.
If leakage, a blocked outlet, or repeated one-sided marks remain after maintenance, pause wet mopping and contact the manufacturer. Protecting the floor is more important than forcing another run.
 ✓
✓